Some more flowers: post-processing
I've started to go through some of the photos from my Printemps gallery that were post-processed too hastily...
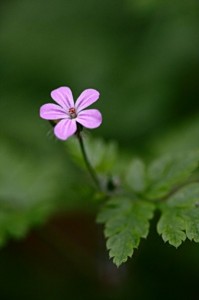
The first image, that I've tried to fix is the one below, with a single flower whose petals are too weakly colored in the original shot.
The image that made its way to my gallery suffers from over-saturation, because I only applied global changes on the white balance and the overall contrast, which was probably not well suited here (or at least not enough).
To get a better result (with Gimp), the easiest way is to use the layers and layer masks. This technique is well explained in the MeetTheGimp[en] podcast (for instance in the latest episode[en]).
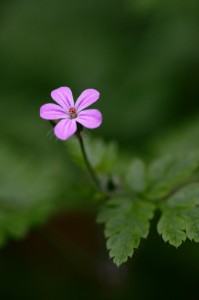
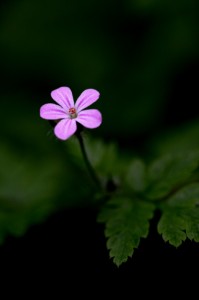
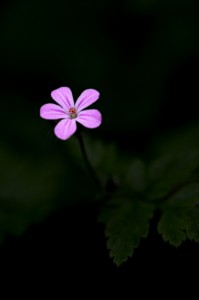
So layers make it possible to work with several images superimposed, and to control the transparency effects ((ie how much the top image will mask the images underneath)). Here, only two layers were needed: a image of the origianl shot, modified in order to make the greenish background darker and an image of the same shot but where the colors and luminosity have been enhanced. Using a layer mask on this second image, made it possible to keep the modifications only on the white regions of the mask. Thus, I could modify the color of the flower independently from the background. Images below show three examples of such modifications.


