Walkthrough for a simple photo post-process
When posting one of my pictures, I usually say that some post-processing was done. This is nothing but very classical stuff, that I believe are common to most photographers.
However I've been advised to give a glimpse of what those modifications were. And that's why this post will explain and illustrate, for a very simple case, how, starting with a picture coming out of my camera, I get one that suits me enough to post it here.
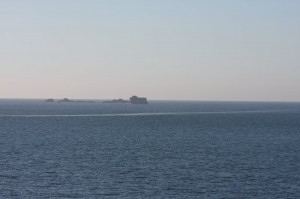
The picture I'll use as an example is the following:
 Long story short, the post process I usually do, and that I will show here have basically two purposes:
- improve color and contrast
- re-frame the picture
Getting better colors
The original version of the above picture is: It's been automatically generated by my camera that, from its sensors' output, computed the "right" colors to give to the picture.
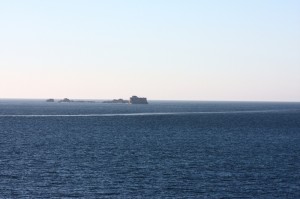
The problem is... I don't like the colors (no offence to the camera manufacturer, this was mainly my mistake when setting up exposure). So I played with the color balance in order to get this result:
 This picture has been generated thanks to UFRaw and I'd like to point out two important things here:
- the advantage of working with software like UFRaw is that they work directly on the camera sensors's output (the RAW file) which gives more "freedom" when working with colors. More details about UFRaw's usage are available in a dedicated episode of MeetTheGimp
- changing the way an image looks is more tricky a problem than one would imagine, because the look of an image depends on the devices used to display it. Especially, the screens all have different behaviours relative to colours, which means that my picture will look different on another's computer than on mine... To limit this problem, screens can be calibrated. Some references on this are also available at MeetTheGimp.
Framing
So the color is better now (at least for me) but, still, I find the details of the photo a little too diluted in the sea... But what I intended to do when I shoot this picture was to play with the horizon line and the biased wake, which is why I modified the picture's frame to make those details stand out: This picture was made with GIMP, except for the border and signature.
To know more about photo post-processing with GIMP, MeetTheGimp is a very useful resource (in case you haven't noticed yet).